Every year, I have my students make ornaments to decorate the classroom Christmas tree. On the last day of school before Christmas break, I pack all of the ornaments for each child and send them home as a gift for the parents.
This year, the students enjoyed creating a few different ‘classroommade’ Christmas decorations. Some were used as ornaments to hang on the tree while others were used to decorate our classroom walls. All decorations encourage fine motor development and creativity!
Ornaments
So far we’ve created two ornaments for our Christmas tree. Below you will find the materials needed, the steps involved, and the skills practiced for each.
Knotted Christmas Tree


Materials:
- Tree twigs (medium size)*
- Various ribbons
- String
- Decorative item for tree topper (we used snowflake scrap-booking stickers)
- Hot glue gun and glue sticks
- Scissors
*No trees were harmed in the process of creating our ornaments; dead twigs were picked up from the ground.
Steps:
- Collect medium size twigs and have children choose one. [This itself could be turned into a nature scavenge hunt activity.]
- Have children cut out 3 to 10 pieces of ribbon with predetermined lengths. Also have students cut out a piece of string to be used to hang the ornament to the tree. Or have these already cut out and ready for children to tie on twigs. The fewer the amount of ribbon pieces, the easier the activity will be for the children. Think of your child’s ability when deciding.
- Have children tie the ribbon pieces to the twigs. Children may create patterns for added practice with this skill.
- Have children choose their tree topper and glue it or stick it to the twig.
- Help children to hot glue their string to either side of the top of the twig. (Hot glue in this step will ensure a lasting ‘hanging’ ornament.)
- Finally, let glue dry for a few minutes and enjoy hanging your homemade/classroommade ornament on the tree.
Skills:
- Fine Motor
- Cutting
- Gluing
- Tying
- Math
- Pattern making
- Creativity!
Magnetic Work Display Clippers
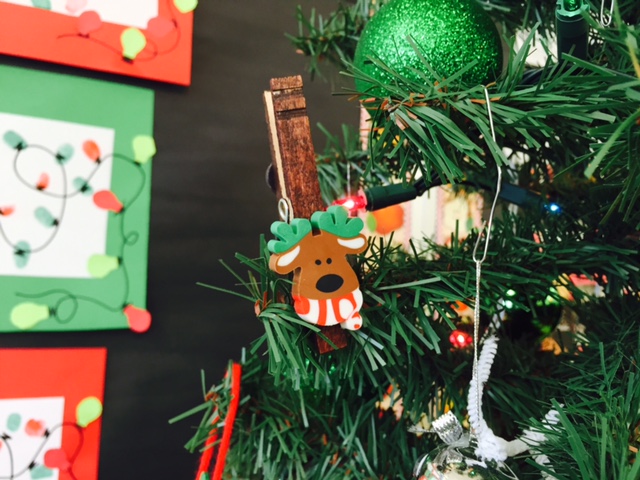
Students truly enjoyed this project! Redirections to complete the project were very minimal and they wanted ‘more’ when the coloring was finished.


Materials:
- Clothespins
- Christmas erasers
- Small Magnets
- Markers
Steps:
- Have children choose their eraser. [I found the erasers at our local Dollar Store!]
- Have children color their clothespins (hopefully to match their eraser).
- Help children to hot glue their erasers to one side of their clothespin.
- Help children to glue or stick magnets to the other side of their clothespins. [We ended up needing three small magnets per clothespin. Place clothespin on magnetic surface to ensure the amount of magnets glued will be enough to hold up your ornament.]
- Write child’s name and year on the side or back of the clothespin.
- Finally, clip your beautiful ornament to the Christmas tree or stick on the refrigerator to display works of art.
Skills:
- Fine Motor
- Coloring
- Gluing
- Pencil Grasp
- Creativity!
These were very fun and easy to make! My students and parents will definitely enjoy the ornaments. These will also serve as beautiful memories of their first grade. Are you willing to give it a try? Share your homemade ornaments!